To make soap you need to create a chemical reaction known as saponification. In technical terms, saponification involves base (usually caustic soda NaOH) hydrolysis of triglycerides, which are esters of fatty acids, to form the sodium salt of a carboxylate that we call soap. If you think you’d like to give cold process soapmaking a try, here is how I do it.
Read all of these instructions and assemble all of your materials before you begin. The actual process takes a while, and it is mildly dangerous. Do it when you can set aside an hour, or so, free from distraction.
In addition to the ingredients in the recipe you will need:
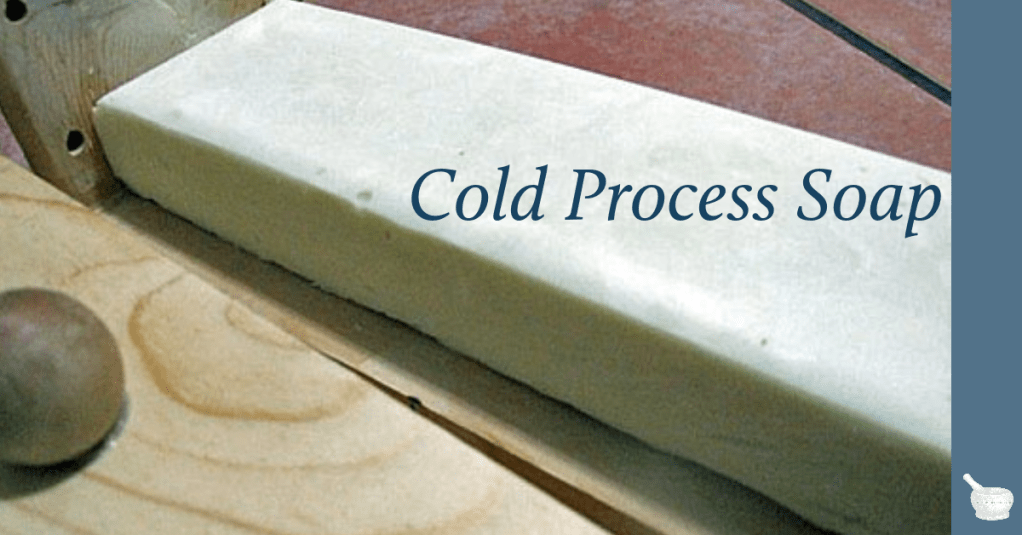
- A mold. You don’t need a wooden mold like the one I have. Molds can be made from PVC pipe or even an empty Pringles can which is what I used to make the round soaps in the picture below.
- A stainless-steel stock pot – The bigger the better.
- A decent quality scale that measures in tenths of ounces and grams
- A glass stirring rod for stirring lye into the distilled water
- Heat resistant glass container with wide mouth for mixing lye solution
- One small stainless steel wire whisk or an immersion blender
- Two thermometers
- Rubber gloves
- Safety goggles
- Old towel
Basic Soap Recipe Ingredients
8 ounces palm oil – solid fat
4 ounces coconut oil -solid fat
6 ounces olive oil
2.7 ounces of sodium hydroxide dissolved in 6 ounces of distilled water.
I source sustainable palm, but you can also use cocoa, shea butter, or tallow. This recipe will accommodate no more than one ounce of essential oil at trace, but that is a lot of essential oil. I never use that much.
Before you Get Started
Prepare your mold ahead of time. I line mine with butcher’s paper and set it on the old towel before we get started.
Empty both sides of your sink and be sure to have some ice on hand in case you need to give something a cold-water bath.
Have your additives measured ahead of time and ready to add at trace.
Now put on your safety goggles and rubber gloves. Do not take them off until you have cleaned everything up. Lye and raw soap are incredibly caustic and dangerous. I usually send the children away.

Finally! You are ready to make the soap.
Put your wide-mouth beaker in a larger tub which you can add water to later, if necessary. Put the cold water in your wide-mouthed jar or beaker. Slowly pour the lye in stirring until it is dissolved being careful NOT to breathe in the fumes. I mix mine under the hood of my stove which has a fan that vents to the outdoors. Set this somewhere safe from being knocked over to cool.
While you are waiting for the lye mixture to cool down, melt your solid fats in your stainless-steel pot. I use a ridiculously large pot to catch the splattering that occurs during the mixing process. When the fats are melted add the oil.
Now comes the waiting game. You want both the lipid mixture and the lye water to be approximately 40 degrees Celsius (100 degrees Fahrenheit). For me, this usually means giving the lye mixture a cold-water bath, probably because of the surface area of my stock pot.
This is much safer for me because I use a laboratory-grade glass beaker. Please be careful if you are using a canning jar. Start by pouring warm water into the large basin around the jar and slowly add ice to bring down the temperature. Don’t just plop a hot mason jar into an ice bath. Really it would be better to pick up a cheap beaker.
When both mixtures are around 40 degrees, you begin mixing by slowly trickling the lye water into the lipids while stirring constantly until all the lye solution is incorporated.
Now we stir to trace! The old-fashioned way to stir soap to trace is to use a whisk or a spoon alternating between making circles and figure eights. As I don’t have hours to stir a pot, I use an immersion blender. It is a grand invention not to be trifled with. I have one that is devoted entirely to non-food use.
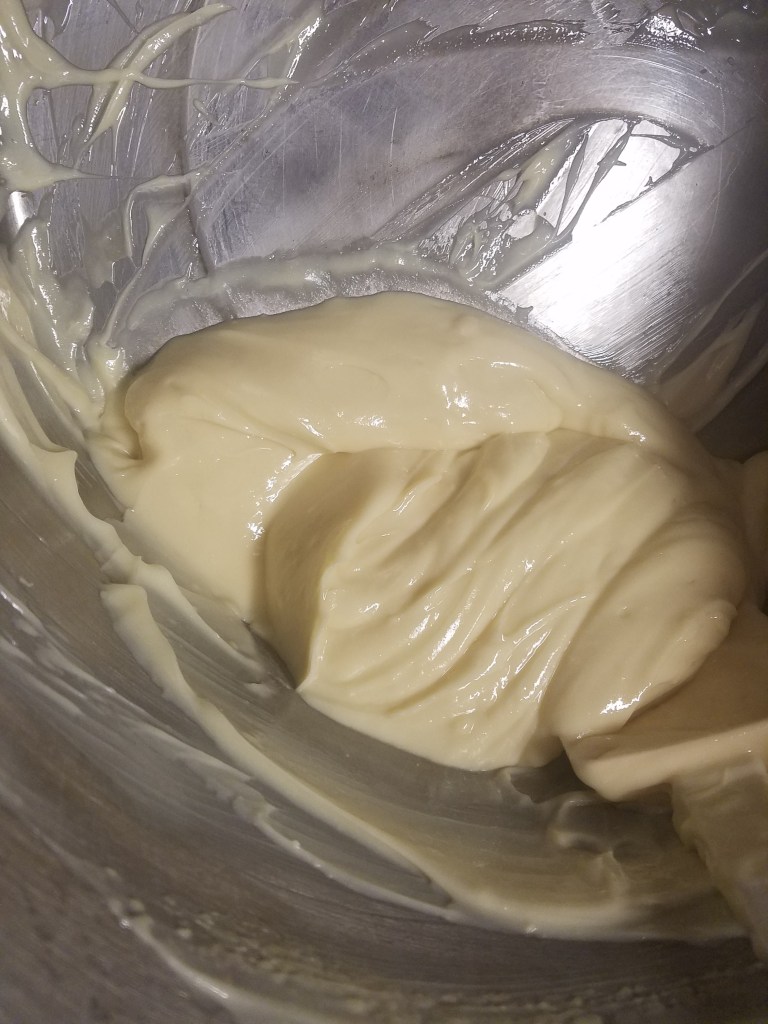
As you stir, you will notice the mixture becomes thicker and creamier. Trace is the term used for when the mixture is thick enough to hold up a dollop of itself on its surface. It looks a bit like pudding at this point.
At this point, you can gently stir in your essential oils and other additives such as apricot seeds, ground oatmeal, fine clay, herb powders, or whole herbs if you must (but why?). Some people suggest mixing a bit of the solution into the additives and then adding that to the soap, but to me that seems a dangerous step when messing with raw soap. Sprinkle the additives evenly over the surface of the raw soap and give it a few circle-eight stirs.
Do you still have your goggles and gloves on?
Now pour your soap slowly into your mold. Covering the opening with a lid or plastic wrap. I like to bang my mold on the counter a couple of times to encourage the soap to settle and work out any air bubbles. Wrap the towel around your mold to keep it insulated. You don’t want it to cool too quickly. That may prevent it from getting hard enough.
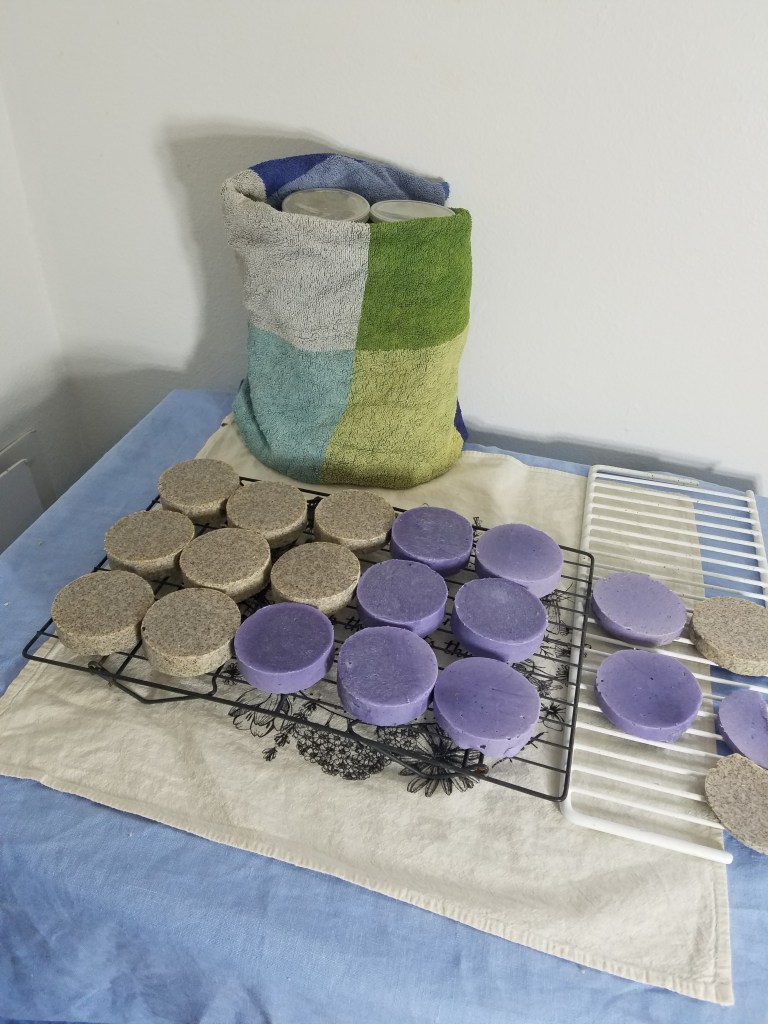
After 24 hours you can put on your gloves and take the raw soap out of the mold and place it on a cooling rack or cutting board. If you have wrapped it well it might still be warm. Cut into bars and stack them in a way that lets air circulate around them and let them sit for another 12 hours.
Then you can layer them in a basket to cure with parchment paper between the layers. Cure for 4 – infinity weeks. The longer they cure the harder and more lasting they will be.

You must be logged in to post a comment.